Introduction
What's up, y'all! You ever wished your videos looked like they were pulled straight from a ‘90s home movie, capturing that warm, fuzzy feeling of old-school adventures with friends and family? If you're all about the charm of VHS tapes, retro vibes, and a little extra nostalgia, you've ventured into the right part of the Internet.
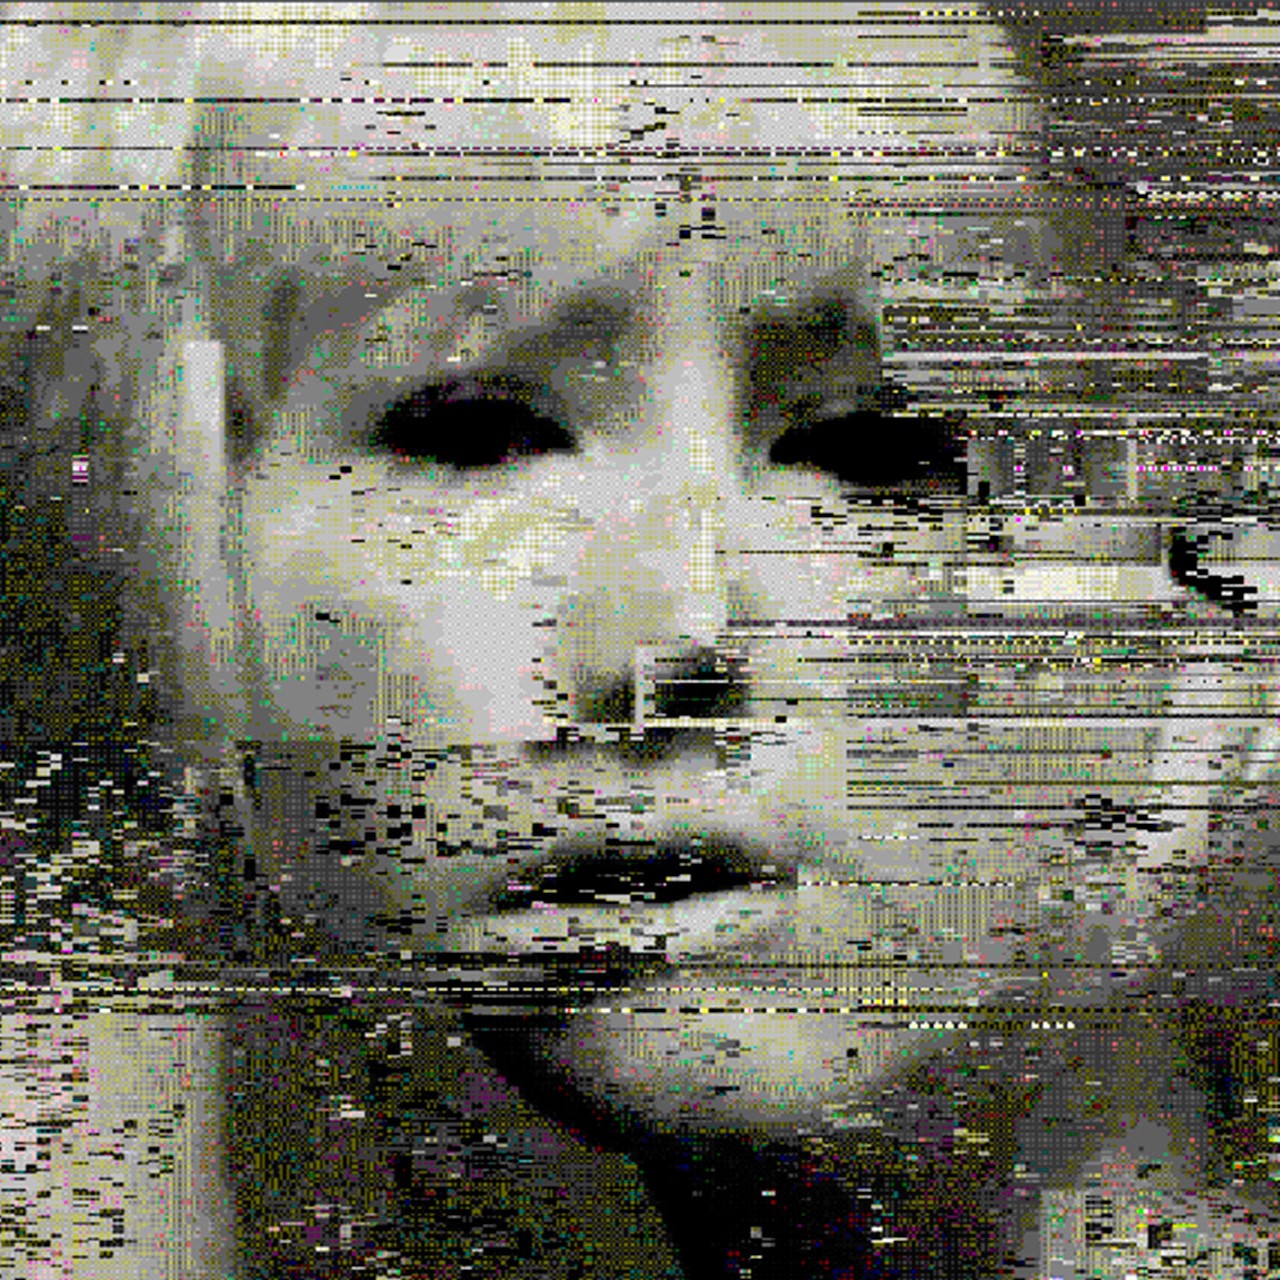
Some brief lore: one of my favorite things to do with my photos is experiment with filters, saturation, brightness, etc. Back when I was a record producer, I would just take a piece of art on the internet, convert it to B&W, smash up brightness and contrast, and BANG. Instant coverart. When I discovered that the VHS aesthetic was 100% replicable in Adobe Premiere, I damn near lost my sh*t. I went into Goblin Mode™ a couple months ago and sifted through YouTube's best-and-brightest content editors looking for the best method, and let me tell you-- I done found it. This is the only guide you will need to give ANY piece of media that retro VHS look from way back then—think grainy texture, soft colors, and that classic VHS shake. Ready to make new memories with a throwback twist? Let’s rock!!! (lowkey Alien2 refence).
Preparation
For maximum aesthetics, download our free Adobe Premiere Pro VHS assets using the mega.nz file repository link below.
https://mega.nz/file/FoB01TbS#xBz4DTP6JU9u06rzHWL3f5XRIkrjG-Lgd_B9IHA8BxI
The VHS assets are in a .zip file format strictly for data compression purposes; simply use any native or 3rd-party decompression software to access the .zip file's folder contents. WinRAR is always our personal go-to for situations such as these (it's free😊).
If You're In a Hurry
Download the VHS assets .zip file and unzip it to access the folder contents.
Import the VHS_Presets.prfpset file into Adobe Premiere Pro.
Drag the "VHS Look" preset onto any piece of media on your timeline for instant VHS-ification.1. Set Up Your Project in Adobe Premiere Pro
Open Adobe Premiere Pro: Click on the Premiere Pro icon to launch the software. Once it opens, select New Project from the welcome screen. This will bring up a dialog box.
Name Your Project: In the New Project dialog box, give your project a meaningful name (e.g., "VHS Effect Project") and choose a location on your computer where you’d like to save it by clicking on Browse.
Set Up the Video Settings: By default, Premiere Pro will use standard settings. Click OK to proceed.
Import Your Video File: Go to File > Import at the top left of the screen, or press Ctrl+I (Windows) or Cmd+I (Mac) as a shortcut. Navigate to your video file, select it, and click Open.
Drag the Video Clip to the Timeline: Once the video file appears in the Project panel (usually on the lower left), click and drag it to the Timeline. This will create a Sequence with the same settings as your clip.2. Apply the Lumetri Color Effect
Open the Effects Panel: Look on the right side of the screen for the Effects panel. If you don’t see it, enable it by going to Window > Effects.

Search for Lumetri Color: In the search bar at the top of the Effects panel, type “Lumetri Color.” The effect should appear under Color Correction.

Apply Lumetri Color: Click and drag the Lumetri Color effect onto your video clip in the Timeline. This adds the color adjustment effect to your clip.
Adjusting Lumetri Color Settings:
2. Basic Correction Tab: Expand the Basic Correction Section: In Effect Controls, under Lumetri Color, find Basic Correction and click the arrow next to it to expand.

Increase Contrast: Move the Contrast slider to around 55 by clicking and dragging the slider to the right. Higher contrast gives your video stronger lights and shadows, which is characteristic of VHS visuals.


3. Creative Tab: Expand the Creative Section. Under Lumetri Color, click the Creative tab to expand it.


4. Curves Tab:
Expand the Curves Section. Under Lumetri Color, click the Curves tab to open a range of color and contrast adjustment curves.
Adjust White Curve: In the main white curve, click and drag the top-right point slightly downwards. This reduces highlight detail, mimicking the limited brightness and dynamic range of VHS footage.


Green Channel: Click on the Green Channel. Move the top-right point slightly left to add a minor color shift in the highlights.


Blue Channel: Select the Blue Channel. Drag the top-right point downward slightly to give the footage a warmer, yellowish tone.


Add Vignette: Set Amount to -1 by dragging the slider to the left. This creates a soft darkening effect around the edges, guiding attention to the center and enhancing the retro look. If this amount is too much, try out a value of 0.5.

3. Add Channel Blur for Color Fringing
Search for Channel Blur: In the Effects panel, type “Channel Blur” in the search bar.

Apply Channel Blur: Drag Channel Blur onto your video clip in the Timeline, placing it beneath Lumetri Color in Effect Controls.


Adjusting Channel Blur Settings:


4. Add Unsharp Mask for Edge Enhancement
Search for Unsharp Mask: In the Effects panel, type “Unsharp Mask.”

Apply Unsharp Mask: Drag Unsharp Mask onto the clip, placing it below the Channel Blur effects.
Adjusting Unsharp Mask Settings:
- Set Amount to 100: In Effect Controls, set Amount to 100 to sharpen edges.


5. Add Noise for Grainy Texture
Search for Noise: In the Effects panel, type “Noise.”

Apply Noise: Drag Noise onto the clip, placing it below Unsharp Mask in Effect Controls.

Adjusting Noise Settings:
- Set Amount of Noise to 8%: Set Amount of Noise to 8%. This adds a subtle grainy look, mimicking the texture found on old VHS tapes.


6. Optional: Add a VHS Grain Overlay
Import Overlay: Go to File > Import, select your VHS_grain.mp4 overlay file from the 1990retro VHS Assets folder that you downloaded and unzipped, and click Open.


7. Set Aspect Ratio to 4:3 for VHS Format
Click your Sequence to select it.

Go to Sequence Settings: Click Sequence in the top menu, then select Sequence Settings.


Adjust Frame Size: Change Frame Size to 1440 x 1080. This alters the aspect ratio from widescreen (16:9) to 4:3, mimicking the classic VHS square format.

Apply Changes: Click OK. Premiere Pro will prompt you to confirm. Click OK again.


8. Optional: Apply VHS Presets for Wiggle and Shake
Import Preset File: In the Effects panel, right-click Presets and select Import Presets. Locate and select your VHS_Presets.prfpset file from your 1990retro VHS Assets folder.


Apply VHS Look Preset: Open Effects Controls. Select Effects > Presets > VHS Effects to access its folder. Drag the VHS Look preset onto your clip in the Timeline. This preset may apply a range of settings to quickly achieve the VHS look. Note that this preset has all of the adjustments made in the previous steps.

IMPORTANT: If you drag this preset onto a clip that already has one, some, or all of the methods implemented in any of the previous steps, the effect(s) will compound, and thus double. If you have already completed steps 1 through 7, you have essentially already applied all of the effects contained within the VHS Look preset. To test out the true power of the VHS Look preset, import a new piece of media onto your Adobe Premiere Pro timeline and then drag the VHS Look preset onto it to see the immediate effects of preset in action.
Add VHS Wiggle: Open Effects Controls. Select Effects > Presets > VHS Effects to access its folder. Find the VHS Shake preset and drag it onto the clip to add subtle movement, replicating the shaky, imperfect feel of VHS playback.
Fine-Tune: Adjust the preset’s settings in Effect Controls to make minor modifications to suit your footage.
Conclusion
There you have it—your own piece of retro magic, captured in every frame! With just a few steps, you’ve turned your memories into moments that feel timeless, like an old home video you’ll want to replay over and over. Whether it’s an adventure with friends, a family gathering, or those simple snapshots of everyday life, your footage now has that dreamy, nostalgic vibe that makes everything feel just a little more special. Keep experimenting, have fun with those vintage looks, and don’t forget to share the retro love with others. Happy editing!🎬😊